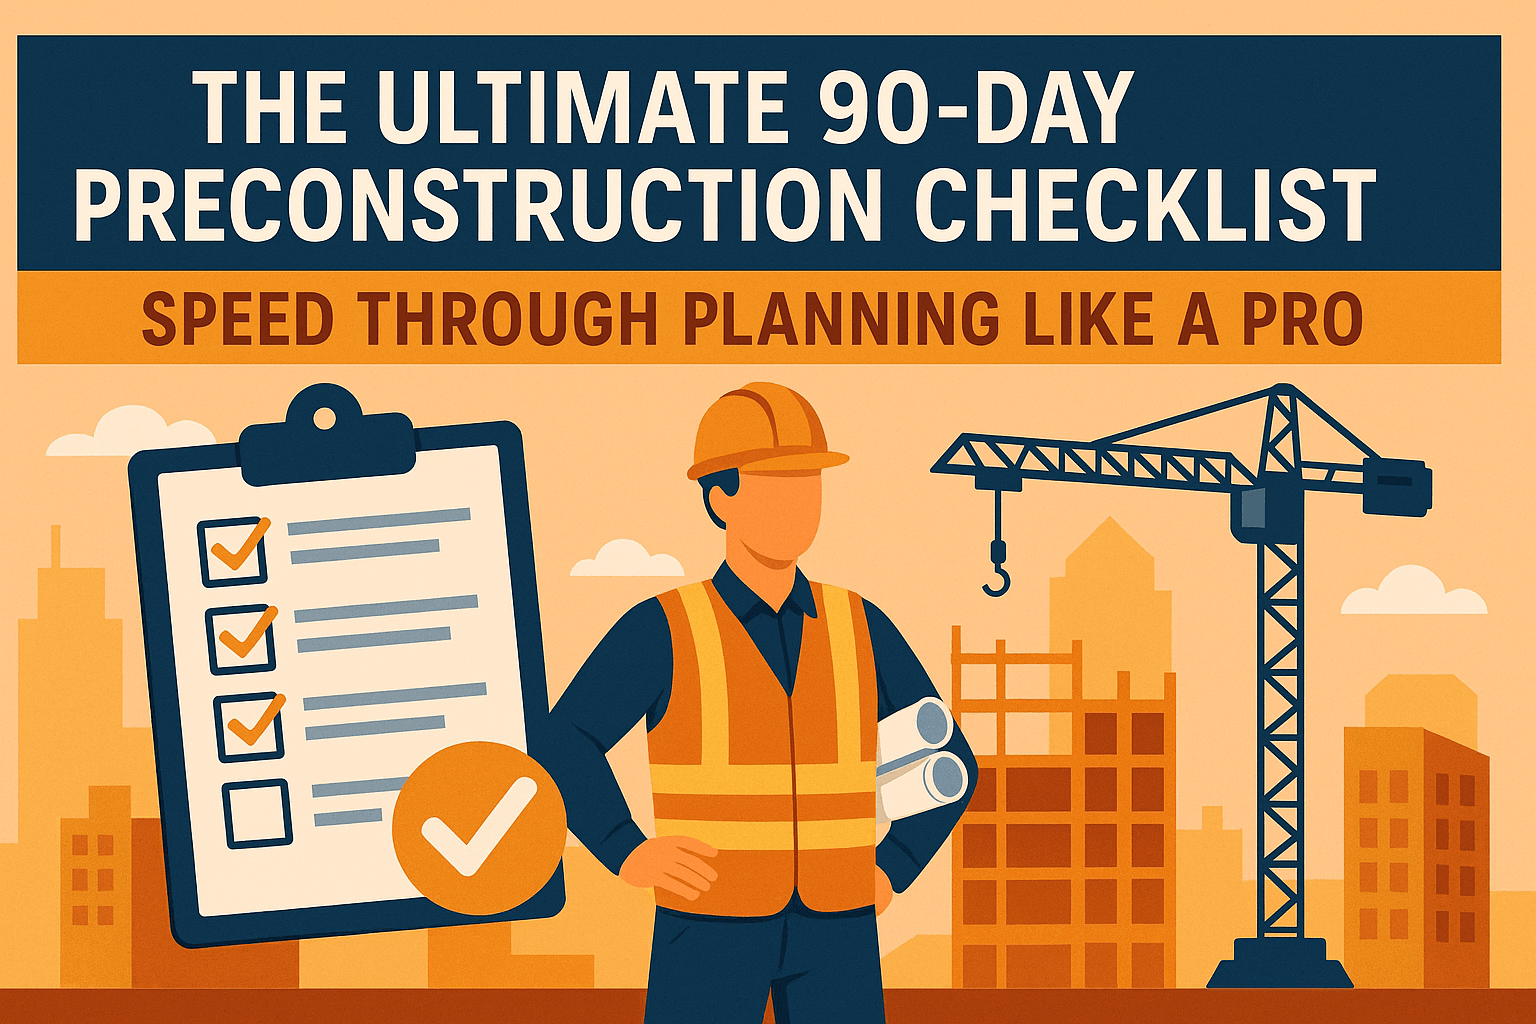
Planning a construction project doesn’t have to be overwhelming. This proven 90-day checklist helps you navigate permits, contractors, and timelines like a pro, avoiding costly delays and getting your project started right.
Professional builders follow this exact process to keep projects on track and within budget. By breaking everything into weekly tasks, you’ll tackle each phase systematically without missing critical steps.
Speed-Up Tips That Save Weeks
These insider strategies can shave weeks off your timeline and keep your project moving at lightning speed.
Pro Shortcuts
- Permit Expediting: Many cities offer expedited services for additional fees
- Material Pre-Ordering: Order materials during design phase to avoid delays
- Seasonal Planning: Start planning in winter for spring construction
- Multiple Quotes: Get quotes from multiple suppliers to avoid single-source delays
Digital Tools That Save Time
- Project Management Apps: Use Buildertrend or CoConstruct for organization
- AI-Powered Bid Invitations: Speed up contractor outreach with platforms like Downtobid that use AI to match your project with qualified contractors and streamline the bidding process
- Digital Plan Sharing: Share plans electronically for faster approvals
- Photo Documentation: Use smartphones to document progress and issues
- Communication Platforms: Set up group chats for instant team communication
Common Time-Wasters to Avoid
- Changing Plans Mid-Stream: Stick to approved plans
- Micromanaging: Trust professionals to do their jobs
- Skipping the Buffer: Always build extra time into schedules
- Poor Communication: Establish clear communication protocols early
Days 1-30: Foundation Planning Phase
Week 1: Vision & Budget Setting
- Define Your Project Goals Write down exactly what you want to accomplish. Create two lists: “Essential Features” and “Dream Features.” Your essential list includes everything you absolutely need, while your dream list covers bonus features if budget allows.
- Establish Your Budget Calculate your total available funds and reserve 20% for unexpected costs. Research average costs for your project type in your area through online calculators and local contractor conversations. Factor in temporary living arrangements for major renovations.
- Check Zoning & Restrictions Contact your local building department to understand zoning requirements, setback rules, and height restrictions. Review HOA guidelines if applicable. Finding out your project violates regulations after hiring an architect is an expensive mistake.
Week 2: Professional Team Assembly
- Interview General Contractors Get quotes from at least three licensed contractors. Check references, visit recent projects, and verify insurance and bonding status. Ask about timeline, communication style, and how they handle changes or problems.
- Hire Your Architect/Designer Review portfolios, discuss timelines, and ensure their design style aligns with your vision. Confirm all fees upfront and understand what’s included. A good designer asks lots of questions about how you live and use your space.
- Consult with Engineers (if needed) For major structural changes, hire a structural engineer. For challenging soil conditions, consider a geotechnical engineer. Your architect or contractor can advise on required specialists.
Week 3: Initial Design Development
- Create Preliminary Drawings Develop basic floor plans and elevations focusing on functionality first. Consider your family’s future needs – that home office might become a nursery, or separate bedrooms might need to become shared spaces.
- Research Materials & Finishes Create Pinterest boards or mood boards to organize ideas. Research both aesthetic appeal and durability. Get preliminary pricing on major materials like flooring, countertops, and fixtures to inform design decisions.
- Site Analysis & Surveys Order a professional survey if your project affects property lines. Identify utility locations and note easements. Walk your property after heavy rain to understand drainage patterns.
Week 4: Permit Research & Applications
- Identify Required Permits Building permits are almost always required. Depending on scope, you might need electrical, plumbing, mechanical, or special permits. Research tree removal or environmental permits if needed.
- Prepare Permit Applications Gather required documentation including detailed drawings, engineering reports, and site plans. Fill out applications carefully and completely. Have your architect or contractor review before submitting.
- Schedule Inspections Understand the inspection sequence and typical wait times in your area. Build inspection points into your project timeline, as you can’t move forward until each inspection passes.
Days 31-60: Detailed Planning Phase
Week 5-6: Finalize Design & Specifications
- Complete Construction Documents Finalize architectural drawings with detailed specifications for materials, finishes, and construction methods. Include electrical, plumbing, and HVAC plans if your project involves these systems.
- Material Selection & Ordering Make final selections for all finishes. Order long-lead-time items like custom windows, cabinets, or specialty materials immediately – some take 12-16 weeks to arrive. Create a delivery schedule that coordinates with construction timeline.
- Value Engineering Review Identify potential cost savings without sacrificing quality. Could you use different materials that look similar but cost less? Prioritize features if budget is tight – what could you add later versus what’s expensive to change later?
Week 7-8: Contractor Selection & Contracts
- Final Contractor Interviews Compare detailed quotes line by line. The lowest bid isn’t always best if it doesn’t include everything needed. Check references from recent similar projects, asking about communication, cleanliness, and problem-solving.
- Contract Negotiation Review all contract terms carefully. Include detailed scope of work, materials specifications, timeline, payment schedule, and change order procedures. Establish payment schedule tied to project milestones, not just dates.
- Subcontractor Vetting Meet key subcontractors (electrician, plumber, HVAC contractor). Verify licensing and insurance, and confirm availability for your timeline. Good subcontractors often book months in advance.
Days 61-90: Pre-Construction Execution
Week 9-10: Final Preparations
- Secure Financing Finalize construction loan or payment method. Set up draw schedule with lender that aligns with project milestones. Ensure adequate cash flow for project duration.
- Insurance & Legal Preparations Update homeowner’s insurance to cover construction activities. Consider builder’s risk insurance for materials and work in progress. Review contracts with legal counsel for large or complex projects.
- Utility Coordination Schedule service disconnections and reconnections with utility companies. Arrange temporary utilities, dumpster service, and porta-potty rental. Plan for how construction affects daily life – parking, home access, etc.
Week 11-12: Site Preparation Coordination
- Site Preparation Planning Schedule soil tests, environmental assessments, and necessary site work. This critical phase sets the foundation for everything that follows. If you’re debating between DIY and professional site preparation, check out our comprehensive guide on DIY vs Professional Site Preparation to make the right choice for your project.
- Neighbor & Community Relations Notify neighbors about upcoming construction. Discuss parking and noise considerations. Provide contact information for concerns. Good neighbor relations prevent complaints and potential work stoppages.
- Final Project Kickoff Schedule pre-construction meeting with all parties. Review project timeline, milestones, and communication protocols. Establish weekly check-in meetings and preferred communication methods.
Making It Happen
This 90-day checklist transforms overwhelming construction planning into manageable steps. The key to success is starting early, staying organized, and building strong relationships with your professional team.
Remember, the investment in proper planning pays dividends in time saved, stress reduced, and money kept in your pocket. Every hour spent in preconstruction planning can save you days during actual construction.
Ready to begin? Start with Day 1 of this checklist and watch your construction dreams become reality. With this roadmap, you’ll navigate the preconstruction phase with confidence and get your project off to the right start.

Chase Ortiz is part of the team at PaigeSimple, where he takes care of all the advertising requests. With a sharp eye for detail, Chase makes sure every advertising opportunity is handled smoothly, helping the site grow and reach more people. His ability to manage these tasks efficiently makes him an important part of the team.